You can find the project on GitHub with a detailed history of changes made to the code.
Let’s say we have a horizontal collection view, the cells have a fixed height and stretch to the width of the collection view (in this example, the collection view width matches the screen width). I applied different colors to visually distinct them.
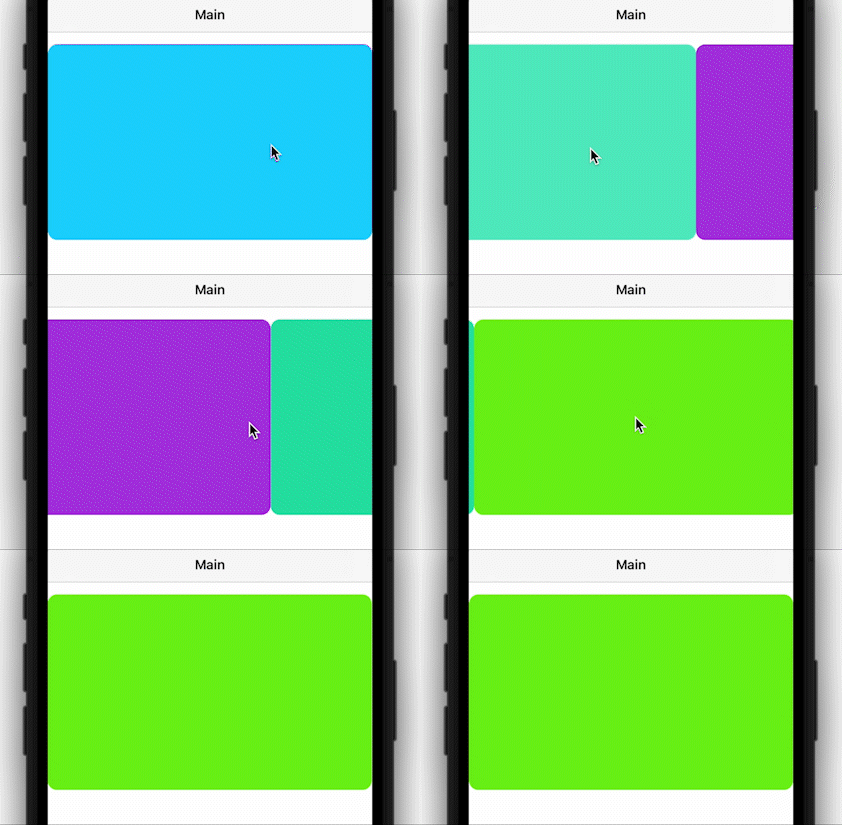
It works just fine, but we desire a snapping paging effect when scrolling left or right. This effect is achieved by using the isPagingEnabled property of UICollectionView, which is a Boolean value that determines whether paging is enabled for the scroll view.
If the value of this property is true, the scroll view stops on multiples of the scroll view’s bounds when the user scrolls. The default value is false.
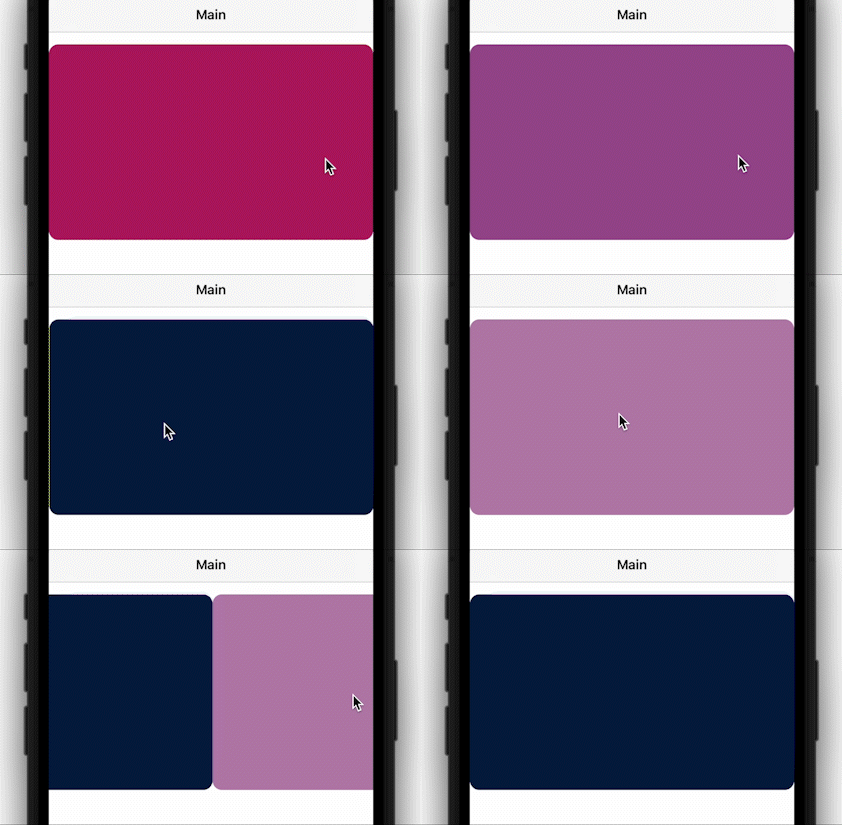
If the collection view and cell widths are the same, you only need to change this property.
However, this approach becomes ineffective as soon as we adjust the section insets or spacing between cells. Since the scroll view stops at multiples of its bounds, this can cause the cell to no longer align with it.
Let’s modify the cell size and add spacing between them by adjusting sectionInset and minimumLineSpacing properties of the layout.

My desired result is that the cells are centered and that the same number of neighboring cells are visible on both sides. There are various solutions available to achieve this, such as manually calculating the required scroll view offset based on the item size, insets, and spacing, and using the setContentOffset method of the scroll view. However, I find this approach to be somewhat cumbersome.
Instead, we can check the start and end positions and compare the difference to a threshold. We need to add some variables for the current page, before and after the offsets, and a constant variable for the threshold. Don’t forget to switch isPagingEnabled to false or just remove it because it defaults to false.
We are going to use two scroll view’s delegate methods scrollViewWillBeginDragging and scrollViewWillEndDragging.
The approach is relatively straightforward — we set a beforeOffset in scrollViewWillBeginDragging when we start dragging and an afterOffset in scrollViewWillEndDragging when we’re about to finish. After that we calculate the difference between the two and compare it to the threshold value, while also taking into account edge cases to ensure that the index we need to scroll to exists and is within the range.
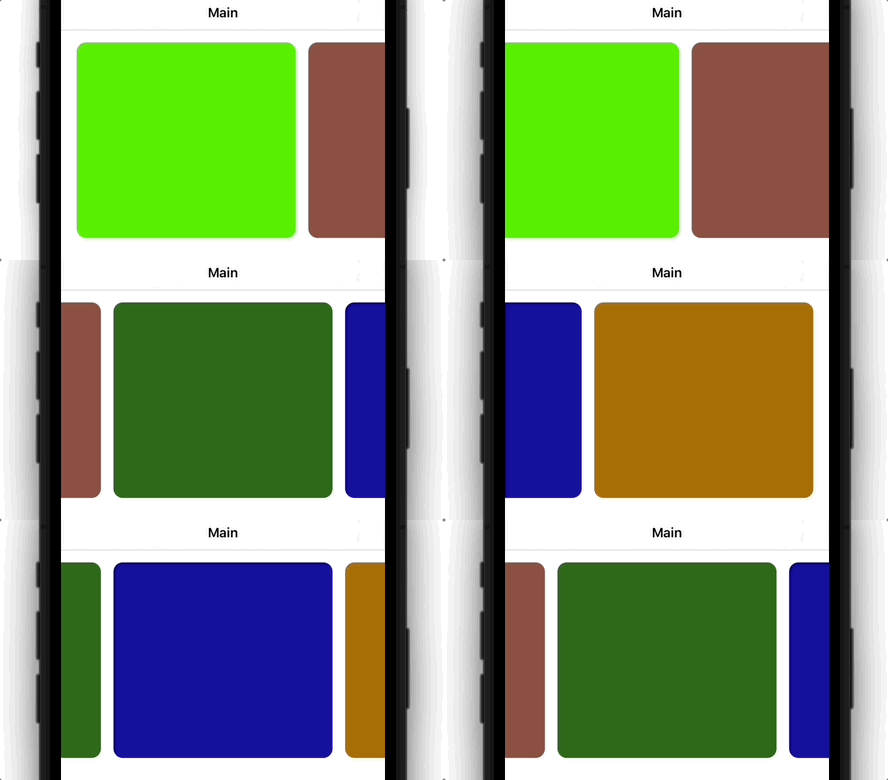
This is the desired outcome. This approach can be applied to vertical collection views as well.
I think it needs a couple of words why we needed the first line of code in scrollViewWillEndDragging
targetContentOffset.pointee = scrollView.contentOffset
targetContentOffset — the expected offset when the scrolling action decelerates to a stop. Your application can change the value of the targetContentOffset parameter to adjust where the scrollview finishes its scrolling animation.
If the user leaves some velocity going after lifting their finger, it can interfere with our snapping effect. To prevent this, we will implement a solution to halt any sliding effect as soon as the user lifts their finger.
Additionally, if we want to observe any changes of the page index from the outside we could add a closure and trigger it through a didSet property observer. We can provide the previous (oldValue) page index as well.
You can find the final project on GitHub.
Thank you for reading this article, I hope you found it helpful! Please feel free to leave a comment or ask any questions you may have — I would love to hear your thoughts.
<hr><p>How to Add Horizontal Paging with Snapping Effect in UICollectionView was originally published in ITNEXT on Medium, where people are continuing the conversation by highlighting and responding to this story.</p>